Rebuilding an 1840 pattern Tiffany Saber
Text + Photos: Mike Blanchard
Gear | The sword is one of the great weapons of all time. It was/is so good that it has, how shall I say, carved out a place for itself in the age of the gun. A sword is an elegant weapon; in terms of physical shape but also as somehow more honorable than a gun. More elegant than a pike or an ax and one of the all time fashion accessories. The sword is a world wide cultural icon. Ever since I was a kid I have been fascinated by swords. Probably the fault of Prince Valiant in the Sunday paper. I mean come on, Treasure Island, Ivanhoe, freakin Robin Hood with Eroll Flynn, Ghunga Din, the Prisoner of Zenda, these are some fantastic sword and adventure epics that fired my imagination when I was young.
When I was a kid we made swords out of scrap steel for our early welding practice. We were shop rats and dad showed us how to weld at a remarkably early age. Almost cut my hand off dueling with my friend Ronny. We went after each other with swords and BB guns. Different times. But that said, a kid who is a sword nut is not popular in school. Feared, but not popular. So I let swords slip from my focus.
Last year, when I was sorta grown up, I came home with an 1840 pattern Tiffany enlisted man’s cavalry saber.
“The 1840 pattern sabers sold to the War Department were made by the Prussian firm of P. D. Luneschoss.”
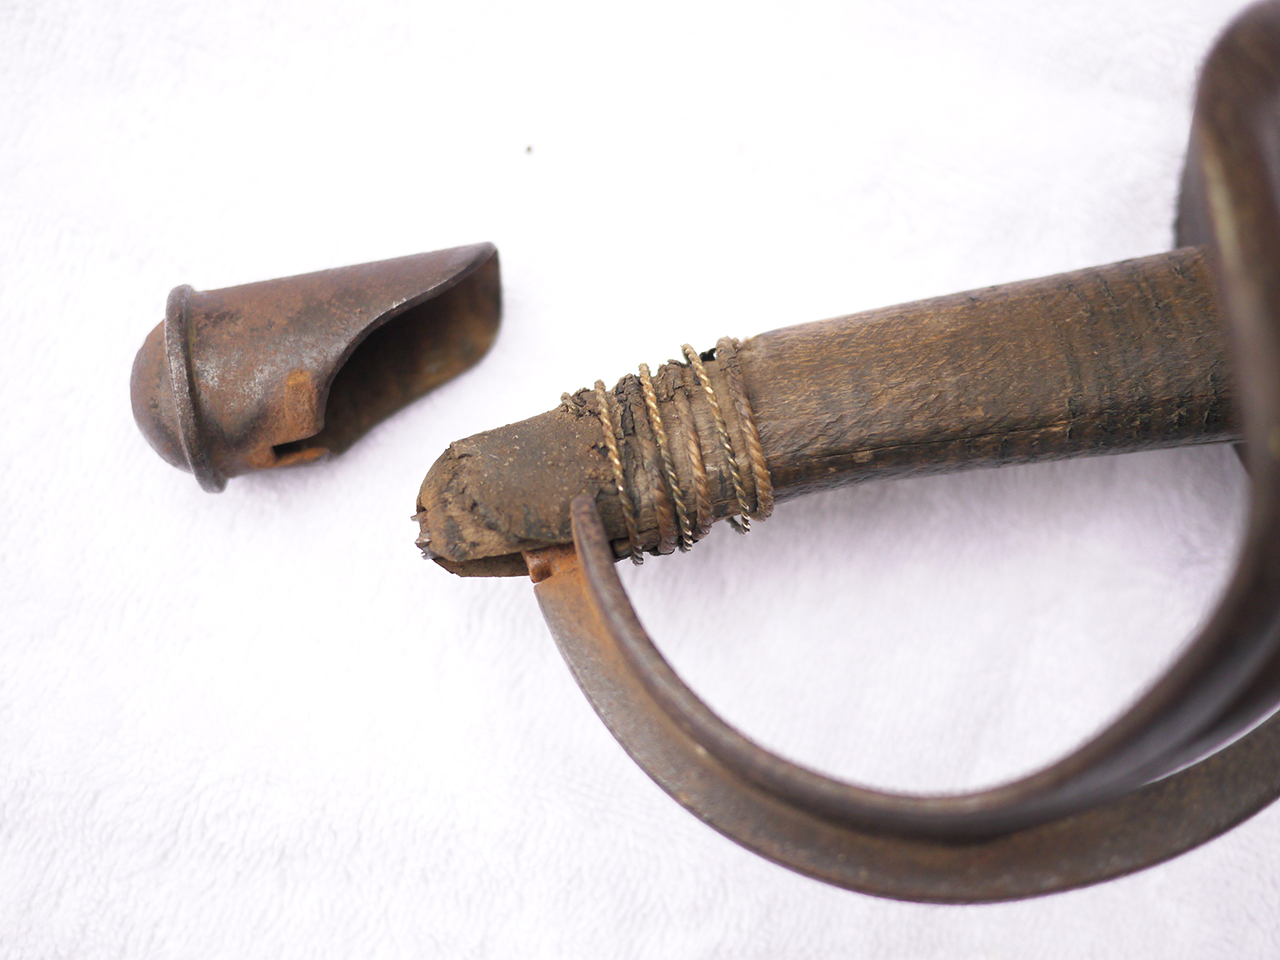
It was in a sorry looking state. The blade was bent, covered with surface rust and scale. The grip was missing the wrapping. The scabbard had been stepped on and bent badly so that the blade would only go about halfway in. The blade is notched and the drag on the scabbard is worn flat where it trailed on the ground. It is a huge long blade meant to wear on a horse. On the plus side, the steel of the blade was crisp. The guard was in good shape and the wood of the grip was there. The blade had never been on a wire wheel or known polishing rouge. It had really good bones.


“I prefer to let things have their history.”
In the early 19th century officers had to supply their own kit. There were several companies that sold military equipment. The most widely known of these was Schuyler, Hartley and Graham in New York. For the well heeled there was Tiffany. In addition to home decoration and jewelry, Tiffany sold swords and accouterment before and after the Civil War. Much of it very fancy. See the famous picture of Teddy Roosevelt in his dude hunting rig with a silver handled Tiffany bowie knife in his belt. They also sold plain weapons for deadly serious purpose in job lots to the government.
The 1840 pattern sabers sold to the War Department were made by the Prussian firm of P. D. Luneschoss. They are recognizable by their steel hand guards. The blade is marked P.D.L on one side of the ricasso (the part of the blade in front of the guard) and and Tiffany & Co. New York on the other. The blades is 35 1/2 inches long and the scabbards are of steel.
My father Jerry Blanchard has done a lot of repair and restoration on antique and historic swords and he was excited to check it out. I think he was a bit skeptical when we first saw the sword because it was in such rough shape. But after getting it home and going over it this looked like a gem in-the-rough. So after some light cleaning and inspection we decided to de-hilt the sword, clean the steel and re-build the grip. But this type of thing is momentous and serious friends.
I prefer to let things have their history. Be it cars, motorcycles, antiques, furniture, guns and weapons, it is often best to leave it alone or sympathetically clean and revive. I shudder to think of how many fine old Winchesters or Colts I have seen that were tortured on the polishing wheel and cold blued following brutally misguided restoration articles in the gun magazines of the 1950s and ’60s. Perfectly good shooters in most cases but without their historical identity. This is a bloody tragedy and has contributed to the stupidly high prices for clean examples of these fine guns.
Given all that, re-doing the grip on the saber was a tricky decision. Leave it alone or revive it, I could see both sides of the argument.


“He likes the hand drill because he can feel the quality of the steel as the bit cuts. It also gives him more control at slow speed.”
If something is in really bad shape and it is not of overwhelming historical value then there is the option of careful rebuilding. Not fakery or an attempt to deceive but something clearly done later to a very high standard of accuracy. Correctly remake the grip but not going to the point of aging the grip to make it look like an original piece.
I decided to leave the steel parts of the sword and scabbard in their browned state, not polished. Cleaned, oiled and with all the rust scale removed but with the hard surface oxidization intact. We did however want to rebuild the grip. It was in bad shape and falling apart, so there was the desire to stabilize. Also, to be honest, I wanted to have a useable weapon, an intact piece. The grip is the where the user interfaces with the sword to use the horrible lingo of the computer age.
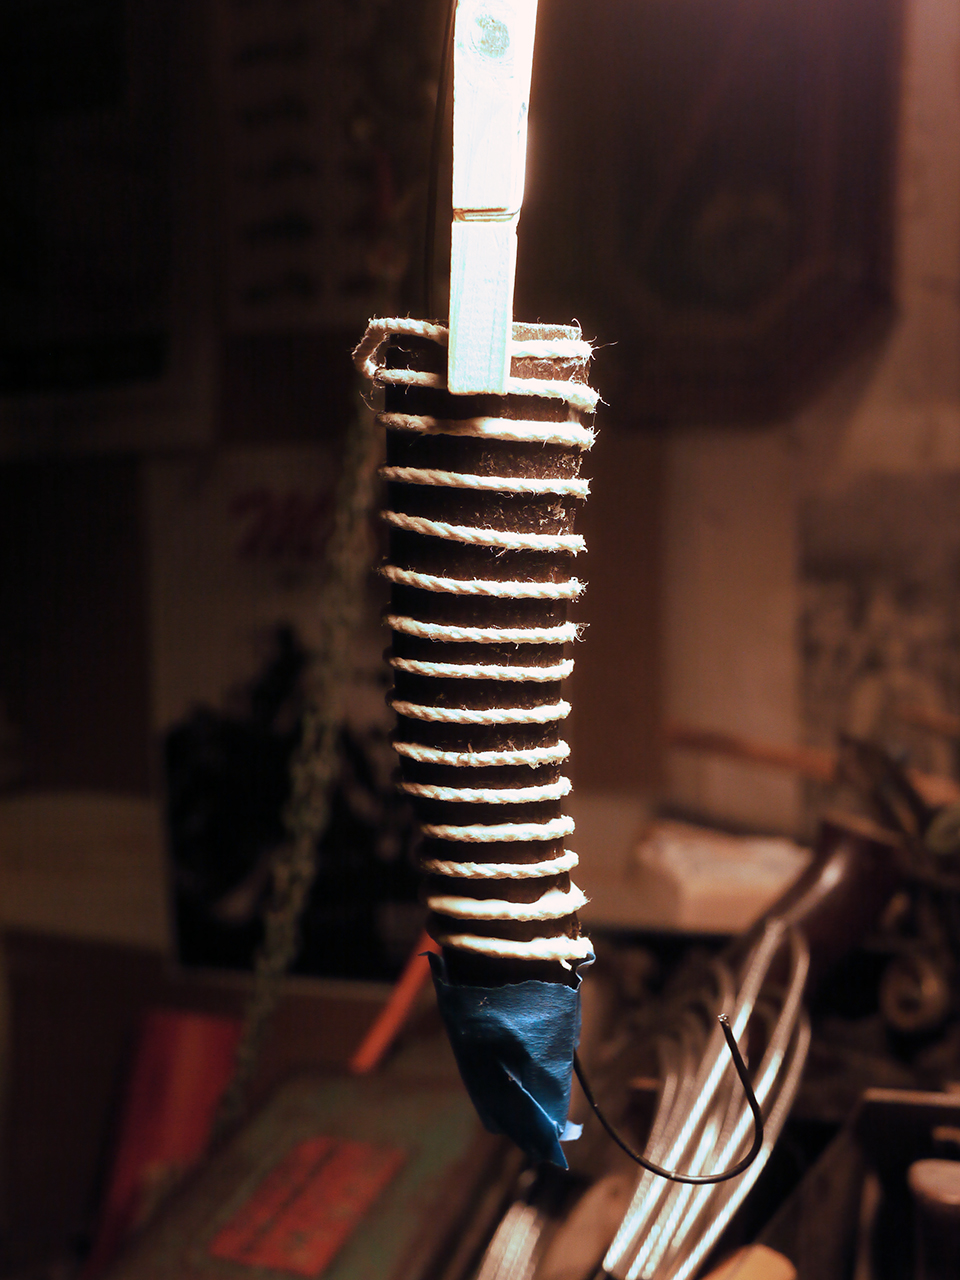
The grip originally consisted of a wooden tube of walnut spiral wrapped with string. Over that was stretched and glued thin black leather. Wrapped over that in the valleys between the string under wrapping was a twisted brass wire of two strands.
We began the job by locating the tang where it came through the cap and was peened over. Years of use and rust and dirt had obscured the tang. Dad carefully punched the tang in the center. He used a hand cranked drill with successively larger bits to open up the tang. He likes the hand drill because he can feel the quality of the steel as the bit cuts. It also gives him more control at slow speed. Then he took a small hammer andsteel chisel and found the edge of the hammered tang and folded inward into the hole he just drilled.
Careful wiggling and pulling and some very light tapping with a plastic hammer finally got grip and guard separated from the blade. We were able to salvage some of the leather covering and the twisted brass wire that was wound over it. There was even some of the string that was wound under the leather. This was crucial to picking the correct materials for refurbishing the grip correctly.
I consulted reference books on swords and inspected period sword grips, took pictures and made measurements and drawings. The string and brass wire were easy but the leather was tricky. We sourced several different samples but the texture or surface was wrong. I ended up dying some stock that was green but otherwise just right.
“We did however want to rebuild the grip. It was in bad shape and falling apart, so there was the desire to stabilize. Also, to be honest, I wanted to have a useable weapon, an intact piece.”
I cleaned and glued where it was cracked, but it was not sanded. The track of the original spiral string wrapping was very clear. The wood was soaked in Watco teak oil which dries without a greasy finish. This allowed me to glue the string wrapping in the same way as the original. It will also rehydrate the wood and keep it strong for many years.
It took several hours to make a pattern for the leather. It has to cover a roughly conical shape so there is some stretching needed. It was really tricky but I got that glued on. I spun the wire using a hand cranked drill and made the final wrapping. The grip looks dead on for the originals I had pictures of. So far so good.
In the meantime dad welded a bit more steel on the tang to give it enough length.
Then he took on the scabbard. This was the hardest part of the whole project. Out of 1/4’ flat cold rolled he cut a piece that mirrored the shape of the blade. Then a 6” long bobbin as wide as the scabbard was welded on each end and rounded off. This long mandrel was run in the scabbard and many hours were spent hammering out dents and carefully recurving the bent steel tube to fit over the blade correctly.
Stamped initials on the tang appeared after cleaning the blade. They could be from smith who made the blade or the inspector's mark. The P.D.L. mark of the maker P. D. Luneschoss is visible on the ricasso.
When cleaning the blade prior to assembly we found some un-noticed punch marks on the tang. They looked at first like inspectors cartouches. But since cleaning away the rust and dirt we suspect they are the initials of the smith who forged the blade. The letters W S in a lozenge comprise the larger of the stampings. The second punch mark is not decipherable.
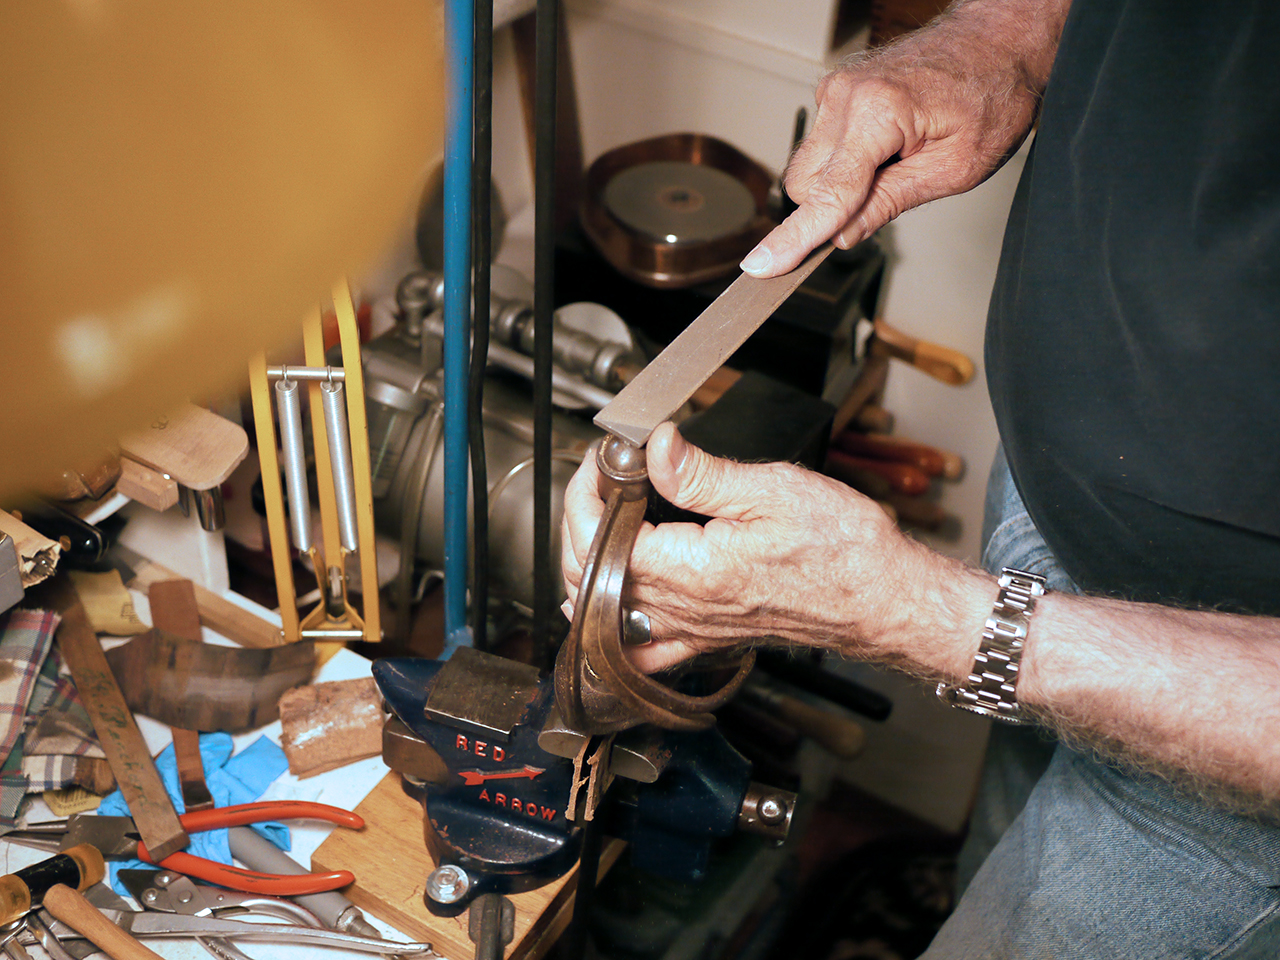
At this point we were ready to reunite the pieces of the sword. We trial fit the hilt on the blade several times to get it just right. We did some final file work and, after cutting the tang to the required length, peened the whole thing together nice and tight. Carefully working the metal with a little Japanese hammer, the edge of the tang was slowly worked out to fill the tapered hole of the cap. In this way the grip and hilt are locked on the blade. No going back at this point.
We finished by remaking the little leather pad that slips on the blade like a washer and rests around the ricasso just below the guard. Done.
The sword fits perfectly in the scabbard. It has great presence. It is an iconic shape. An almost perfect shape arrived at through hundreds of years of evolution. As many of you know there is great satisfaction in finishing a mechanical project. I enjoy that. More than that however, it was cool to do a project with my father. Something we worked on as equals. I hope all of you get to have the same experience at some time.
So there you have it. There are lots of great projects out there. Don’t be afraid to take them on. But remember, do your research and be patient and careful in your work. Measure twice cut once bla bla bla. We’re rooting for you.
